| Previous Cumberland Gap Battle Map | Cumberland Gap Index Page | 16th OVI Home Page | Next Cumberland Gap Battle Map |
Images of Cumberland Gap, Kentucky & Tennessee
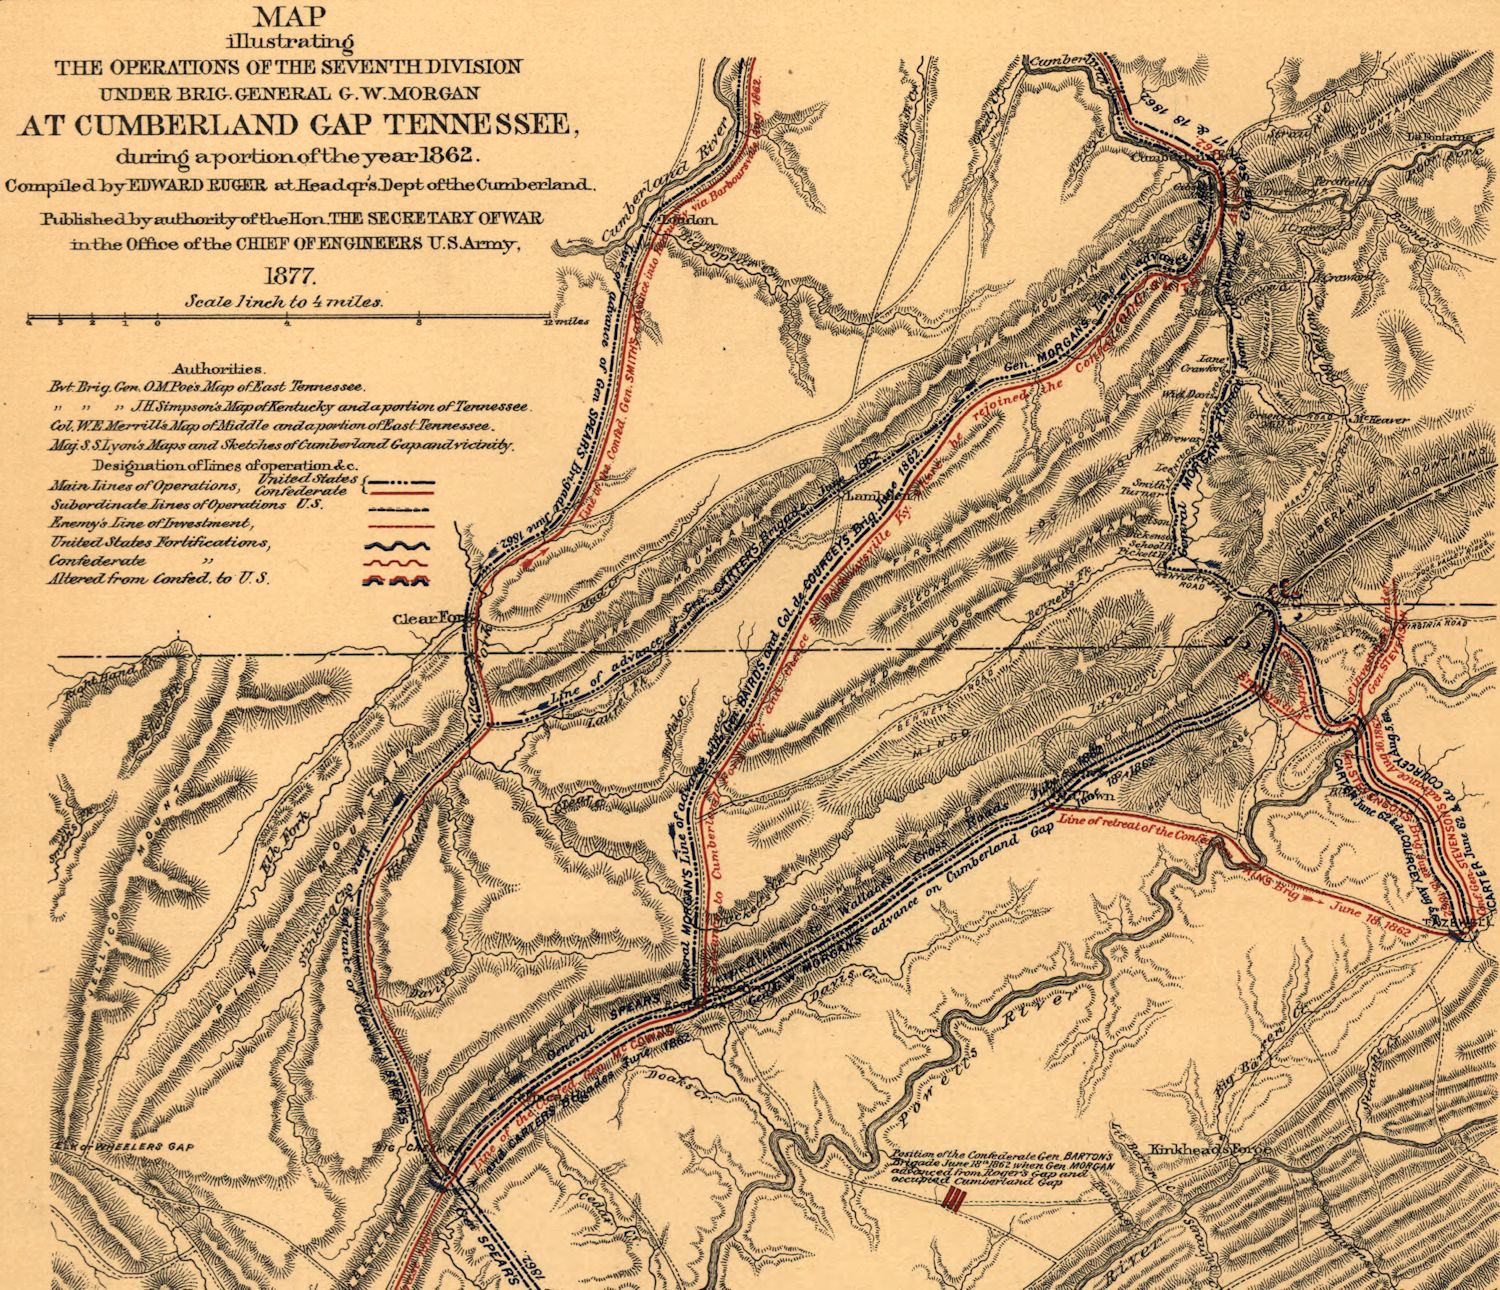
Map of the 1862 Cumberland Gap Campaign
Map of the 1862 Cumberland Gap Campaign
Web Author's Notes:
This map was drawn 15 years after the Cumberland Gap campaign to document the movements and actions during that time. The image shown is not as clear as it lost some clarity when scaling down to make it appropriate for the Internet.
This map was drawn 15 years after the Cumberland Gap campaign to document the movements and actions during that time. The image shown is not as clear as it lost some clarity when scaling down to make it appropriate for the Internet.
Union forces under Gen. George W. Morgan circled the Gap to the south and then approached from the southwest. The Confederate garrison under General Carter Littlepage Stevenson, falling for the various and brilliant tactics used by General Morgan to make the Rebels think there were far more Union troops than actually existed, evacuated the Gap shortly before Morgan's troops arrived. The Gap, therefore, was taken without the loss of a single Union soldier's life.

| Previous Cumberland Gap Battle Map | Cumberland Gap Index Page | 16th OVI Home Page | Next Cumberland Gap Battle Map |